Week in the life
Talking about the highs and lows in a typical week
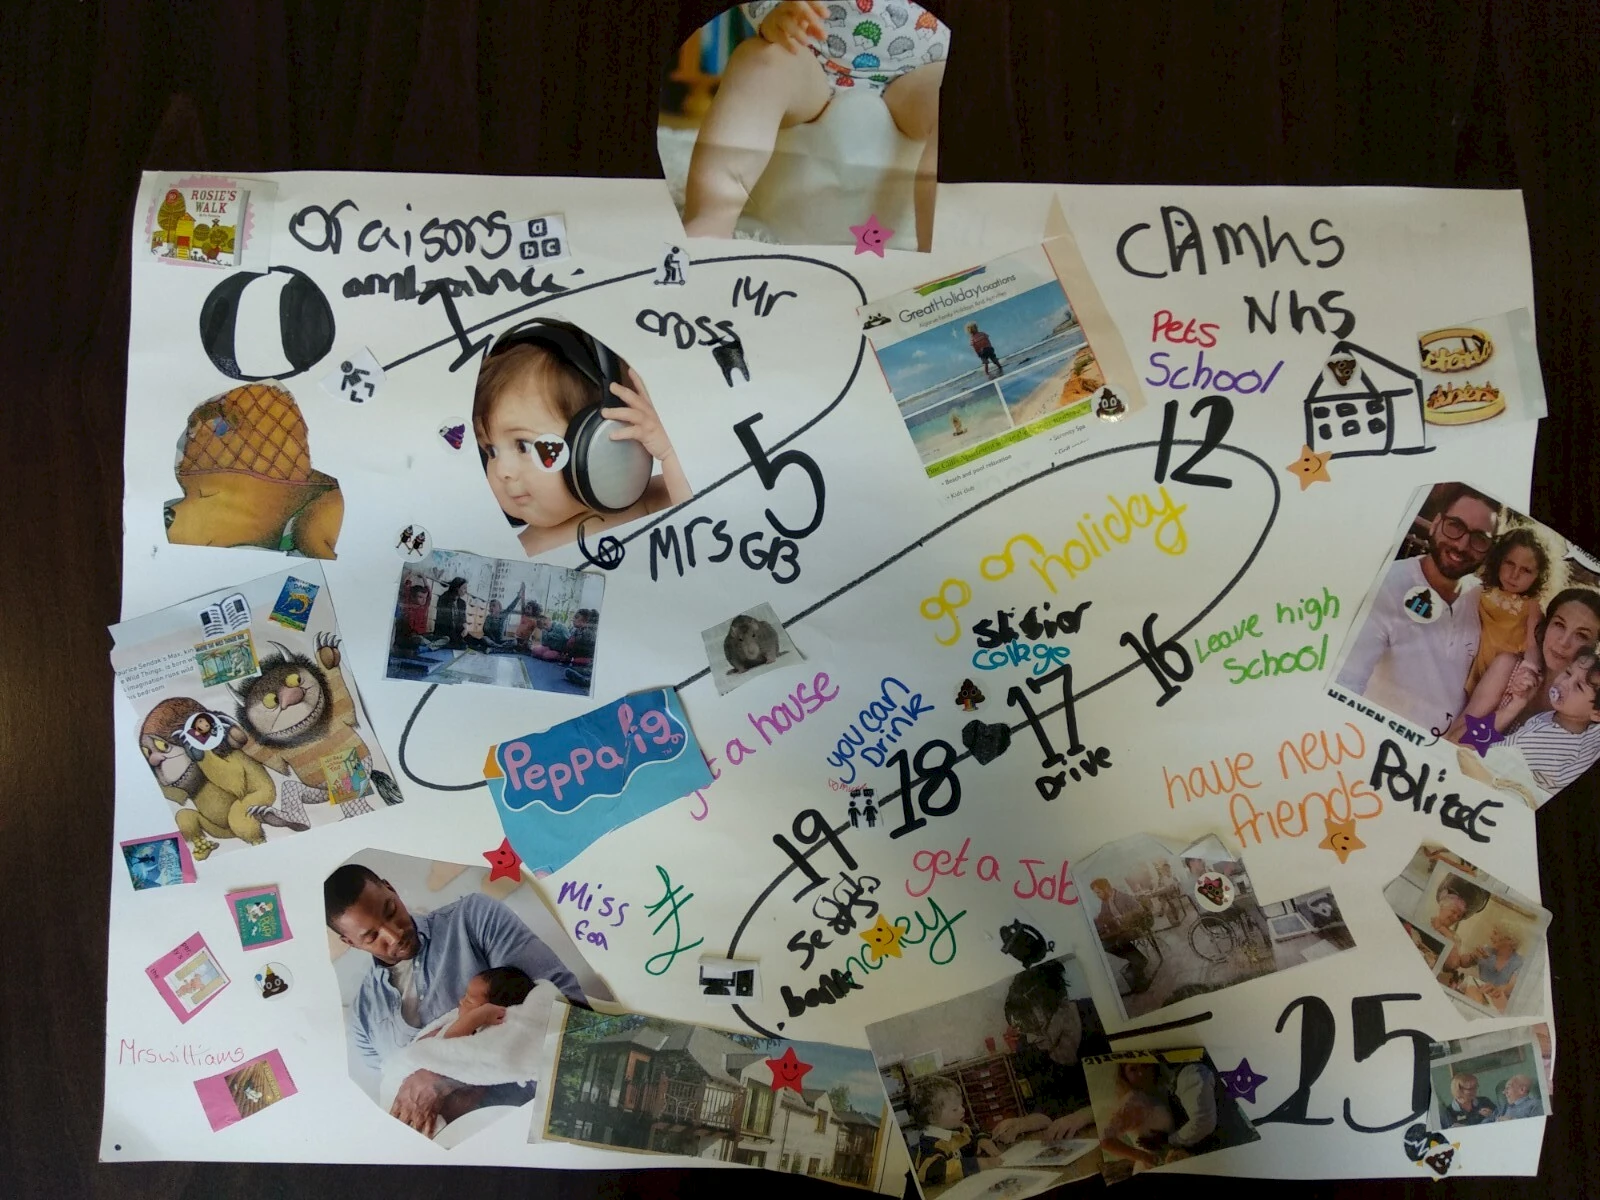
What is this method?
"Week in the life" is a visual, hands-on activity that helps people share their everyday experiences through creating personal timelines. It's an engaging way to understand how people spend their time, what support they receive, and what matters most to them.
Why use this method?
- Visual and creative
- Hands-on activity
- Works for different communication levels
- Creates meaningful discussion
- Captures real-life experiences
- Makes abstract concepts concrete
- Can be personalised easily
- Creates a lasting record
When to use it
Perfect for understanding
- Daily routines and activities
- Service usage patterns
- Support needs assessment
- Community participation
- Social connections
- Choice and control
- Barriers and challenges
- Activity preferences
- Transport needs
- Time management
Running a session
What you'll need
Essential materials
- Large paper (A3 minimum or flip chart paper)
- Various pictures and symbols: magazine cutouts, activity cards, personal photos (if participants wish to bring them), symbol sets familiar to participants
- Coloured marker pens
- Glue sticks
- Stickers (smiley faces, hearts, stars)
- Scissors
- Blank cards for drawing
Support materials
- Communication aids
- Visual timetables
- Quiet space materials
- Sensory items
- Camera (for recording finished work)
- Consent forms
Session structure
1. Preparation (20 minutes)
- Set up accessible workspace
- Arrange materials within reach
- Display example timeline
- Prepare quiet space
- Set out communication supports
- Organise images by category
2. Introduction (15 minutes)
- Explain the activity using visual examples
- Show sample timeline
- Demonstrate how to choose and place activities
- Explain timing markers (morning, afternoon, evening)
- Set ground rules
- Get consent for photography
3. Creating timelines (45 to 60 minutes)
Step 1: choosing activities
- Browse available images
- Select relevant activities
- Draw missing activities
- Consider different times of day and week
Step 2: building the timeline
- Arrange activities chronologically
- Add timing markers
- Include regular activities
- Show different days of the week
Step 3: adding detail
- Mark locations
- Show who helps
- Indicate transport used
- Note choice levels
- Add emotional responses
Step 4: highlighting preferences
- Use stickers for favourite activities
- Mark challenging times
- Show what works well
- Indicate desired changes
Making it accessible
Adaptations
- Use photos of the participant's actual activities
- Include tactile elements
- Create digital versions
- Use a talking mats approach
- Break into smaller steps
- Provide scribing support
Communication support
- Symbol supported instructions
- Choice boards
- Yes/no indicators
- Communication passports
- Break cards
- Alternative pointing methods
Discussion prompts
Basic questions
- "What do you do first each day?"
- "Who helps you with this?"
- "Where does this happen?"
- "How do you get there?"
- "What happens next?"
Deeper exploration
- "Which activities do you choose yourself?"
- "What support makes things easier?"
- "What makes some activities difficult?"
- "Who are your favourite people to do things with?"
- "What would make your week better?"
Service-focused questions
- "Which services do you use?"
- "How do they help you?"
- "What works well?"
- "What could be better?"
- "What extra support would help?"
Using the information
During the session
- Take photos of completed timelines
- Note key discussion points
- Record specific challenges
- Capture positive experiences
- Document support needs
After the session
- Create accessible summaries
- Share findings appropriately
- Identify service improvements
- Plan follow up actions
- Feed into service design
Success tips
- Prepare plenty of relevant images
- Allow enough time
- Follow the participant's pace
- Value all contributions
- Keep it relaxed and fun
- Be flexible with the format
- Celebrate completion
- Show how the information helps
Privacy and consent
- Get clear consent for photography
- Respect private information
- Store data securely
- Share appropriately
- Let participants keep their work
Remember, every timeline tells an important story that can help improve services.
These are the activities we run when we rebuild a local offer
Every Placid site is built with parent carers and young people in sessions like these, and Belong is built the same way with SENCOs. If you would rather not run them yourself, we can come and run them for you, gather fresh data for a section of your local offer, or refresh a section that has gone stale.
See how Placid is built →Talk to Jonny about running these with you →